Liquid Magic: How to Make Your Own Lava Lamp Tumbler

Glow On the Go: How to Make Your Own Lava Lamp Tumbler
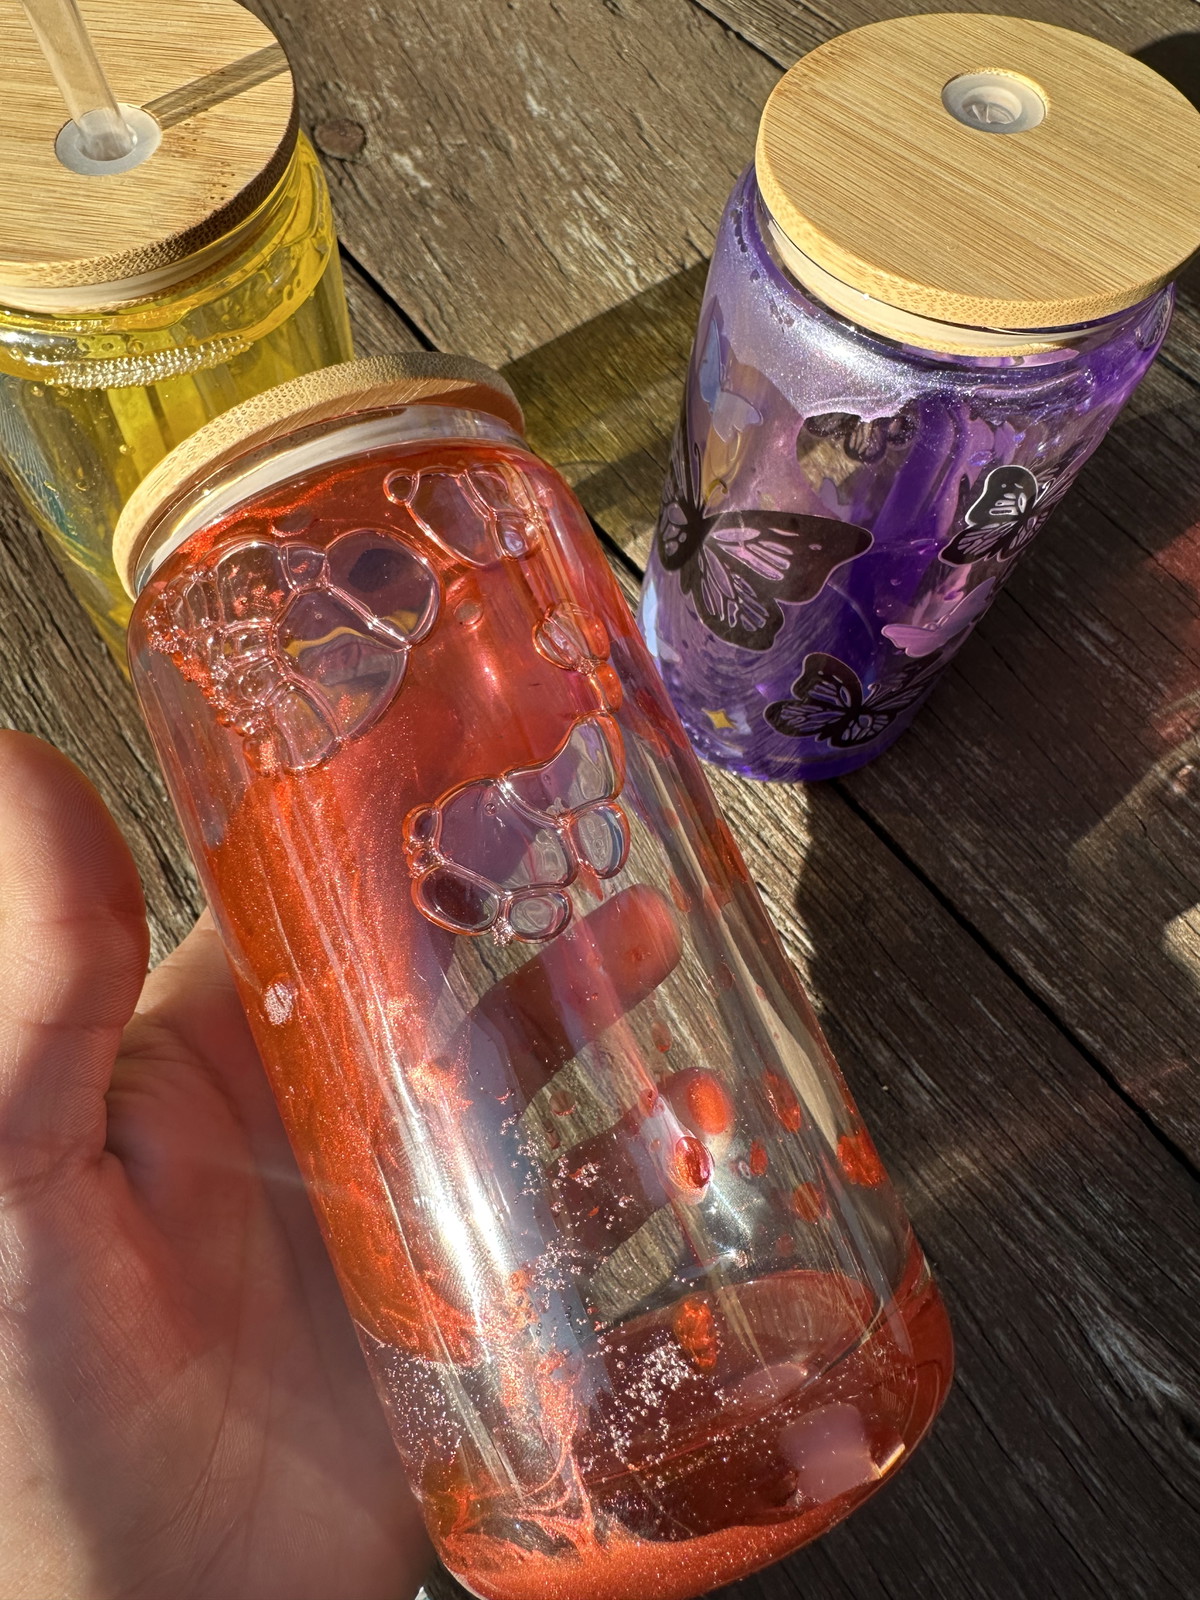
If you’re looking for a craft that’s part retro, part mesmerizing magic and 100% fun you’ll love making your own Lava Lamp Tumbler. Inspired by the nostalgic glow of those swirling '70s lights, these tumblers are a vibrant, eye-catching way to brighten up your drink. This is a satisfying, beginner-friendly project that turns a simple cup into a moving, glowing work of art.

What is a Lava Lamp Tumbler?
A lava lamp tumbler is a double-walled cup filled with a glittery, bubbly mixture that moves like a lava lamp when shaken. Using ingredients like clear glue, water and baby oil, you’ll create a slow-moving, shimmery liquid trapped between the walls of the cup no electricity required. The result is equal parts calming and cool.
Why You'll Love Making One
This project is a huge hit in workshops and group settings. It's easy enough for beginners, yet customizable enough to keep seasoned crafters engaged. Plus, the end product is not just beautiful it’s functional! Use it as your go-to cold drink tumbler or gift it to a friend who needs a little sparkle in their day.
Pro Tip:
Use tumblers with pre-drilled holes in the bottom; these are easy to find online on sites like Amazon or craft supplier shops. It’ll save you time and effort and ensure a snug fit for your fill port.
Items You’ll Need:
-
Double-walled plastic tumbler with pre-drilled hole
-
Glycerin or baby oil (for slow movement)
-
Clear glue
-
Water
-
Fine glitter or mica powder
-
Chunky glitter or small confetti pieces (optional)
-
Food coloring (a few drops for color)
-
Small syringe or squeeze bottle
-
10mm plug (for sealing the hole)
-
UV resin and UV flashlight (or epoxy glue)
-
Paper towels and gloves for cleanup
🧪 Step-by-Step Instructions
1. Prep your workspace
Lay down paper towels and gather all your materials. Make sure your tumbler is clean and dry.
2. Mix your lava formula
In a small bowl or measuring cup, combine 1 part clear glue with 1 part water. Add a few drops of food coloring and your glitter/mica mixture. Mix well.
3. Add baby oil or glycerin
In a separate container, add 1 part baby oil or glycerin. This will give your tumbler that slow, lava-like movement.
4. Fill the tumbler
Using a small syringe or squeeze bottle, alternate filling the inside layer of the tumbler with your glue/water mixture and oil. You’ll want to leave a small gap at the top to allow for movement.
5. Plug the hole
Once filled, carefully insert your 10mm plug into the bottom hole. You may need to use a little pressure. Wipe away any spills.
6. Seal it up
Use UV resin or epoxy to seal around the plug. Shine the UV flashlight to cure it (or let epoxy sit overnight). This ensures nothing leaks out later.
7. Shake & enjoy!
Give your tumbler a good shake and watch the glitter swirl and dance. You’ve officially made your own lava lamp tumbler!